how to make pom-pom Christmas ornaments
Am I the only person who is honestly shocked about how expensive Christmas ornaments are? When you’re starting a Christmas decoration collection from scratch, every $8 ornament adds up quickly, especially if you want your tree full of ornaments.
That’s why I love making my own DIY Christmas ornaments, and these pom-pom Christmas ornaments were a blast to make.
Time: 10 minutes
Materials:
Yarn
Choosing yarn
For your DIY pom-pom Christmas ornaments, I recommend going with a thicker, bulky weight yarn. Worsted weight will work as well, but will take more yarn to make a finished pom-pom ornament.
Using a pom-pom maker
Pom-pom makers have two sets of arms, which you are going to wrap the yarn around. To start your pom-pom ornament, pull out the first two arms of your pom-pom maker, like in the picture above.
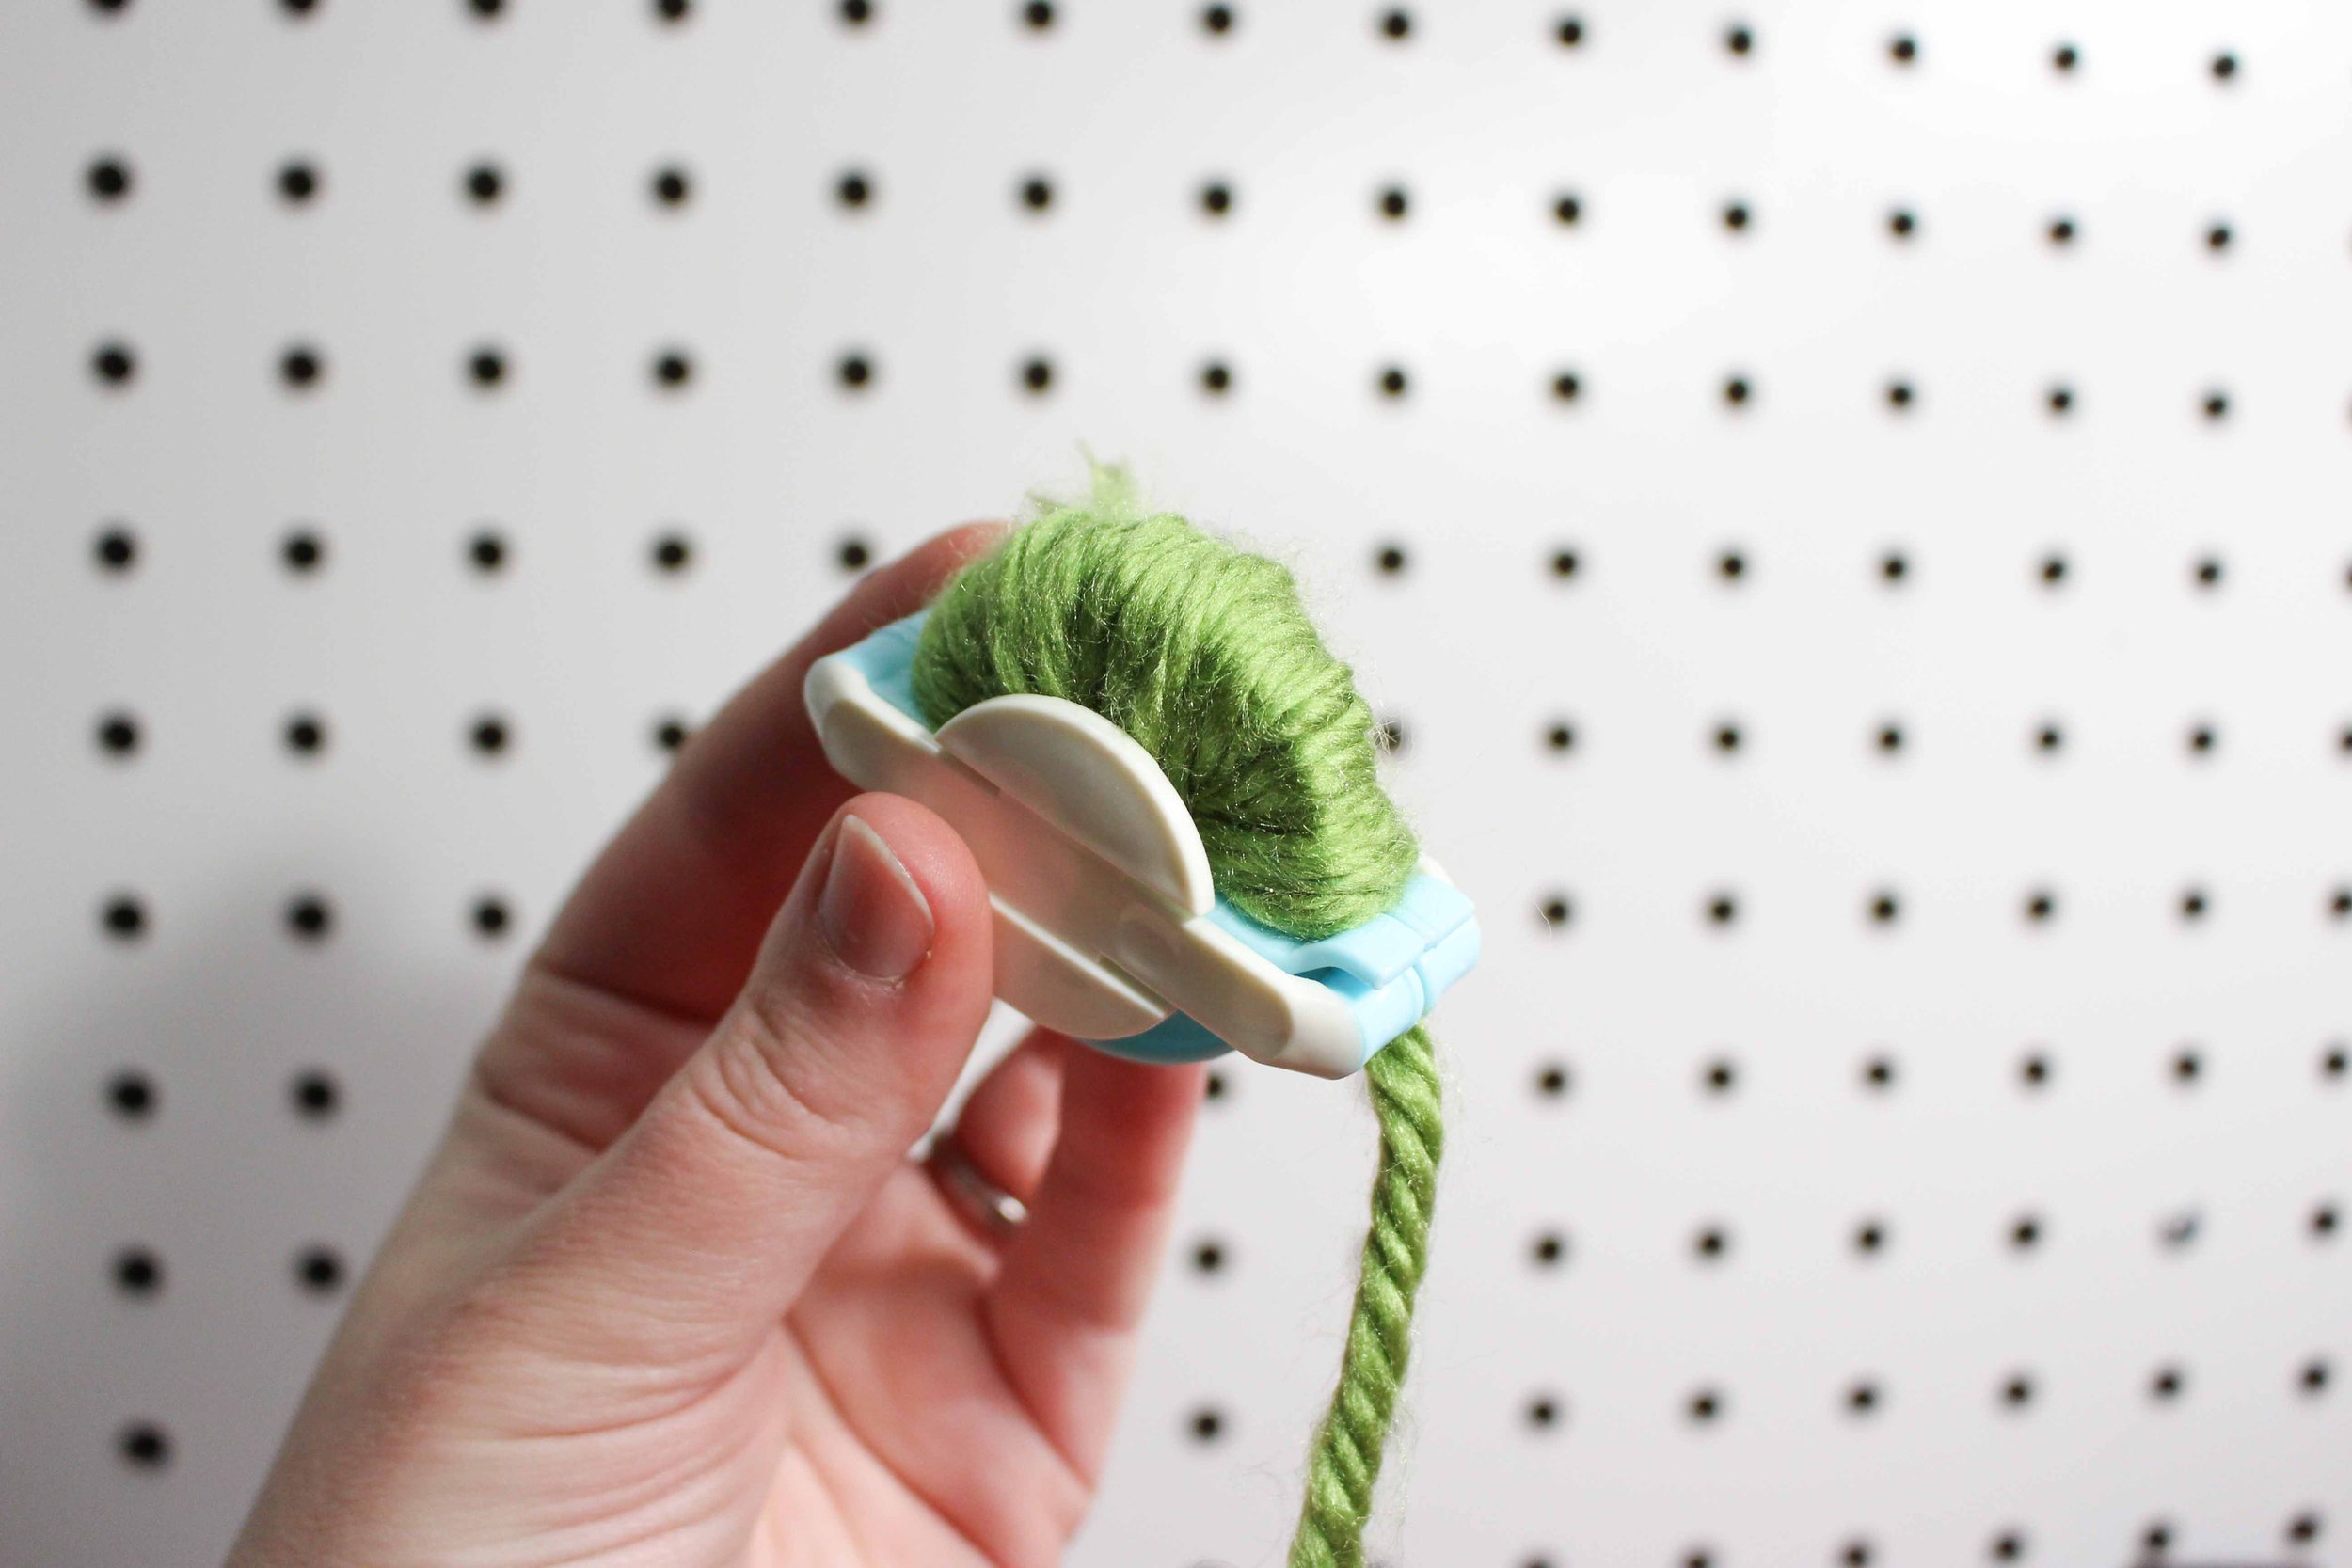
Next, begin wrapping your yarn tightly around the first two arms, until your yarn completely fills the inner semi-circle of the yarn.
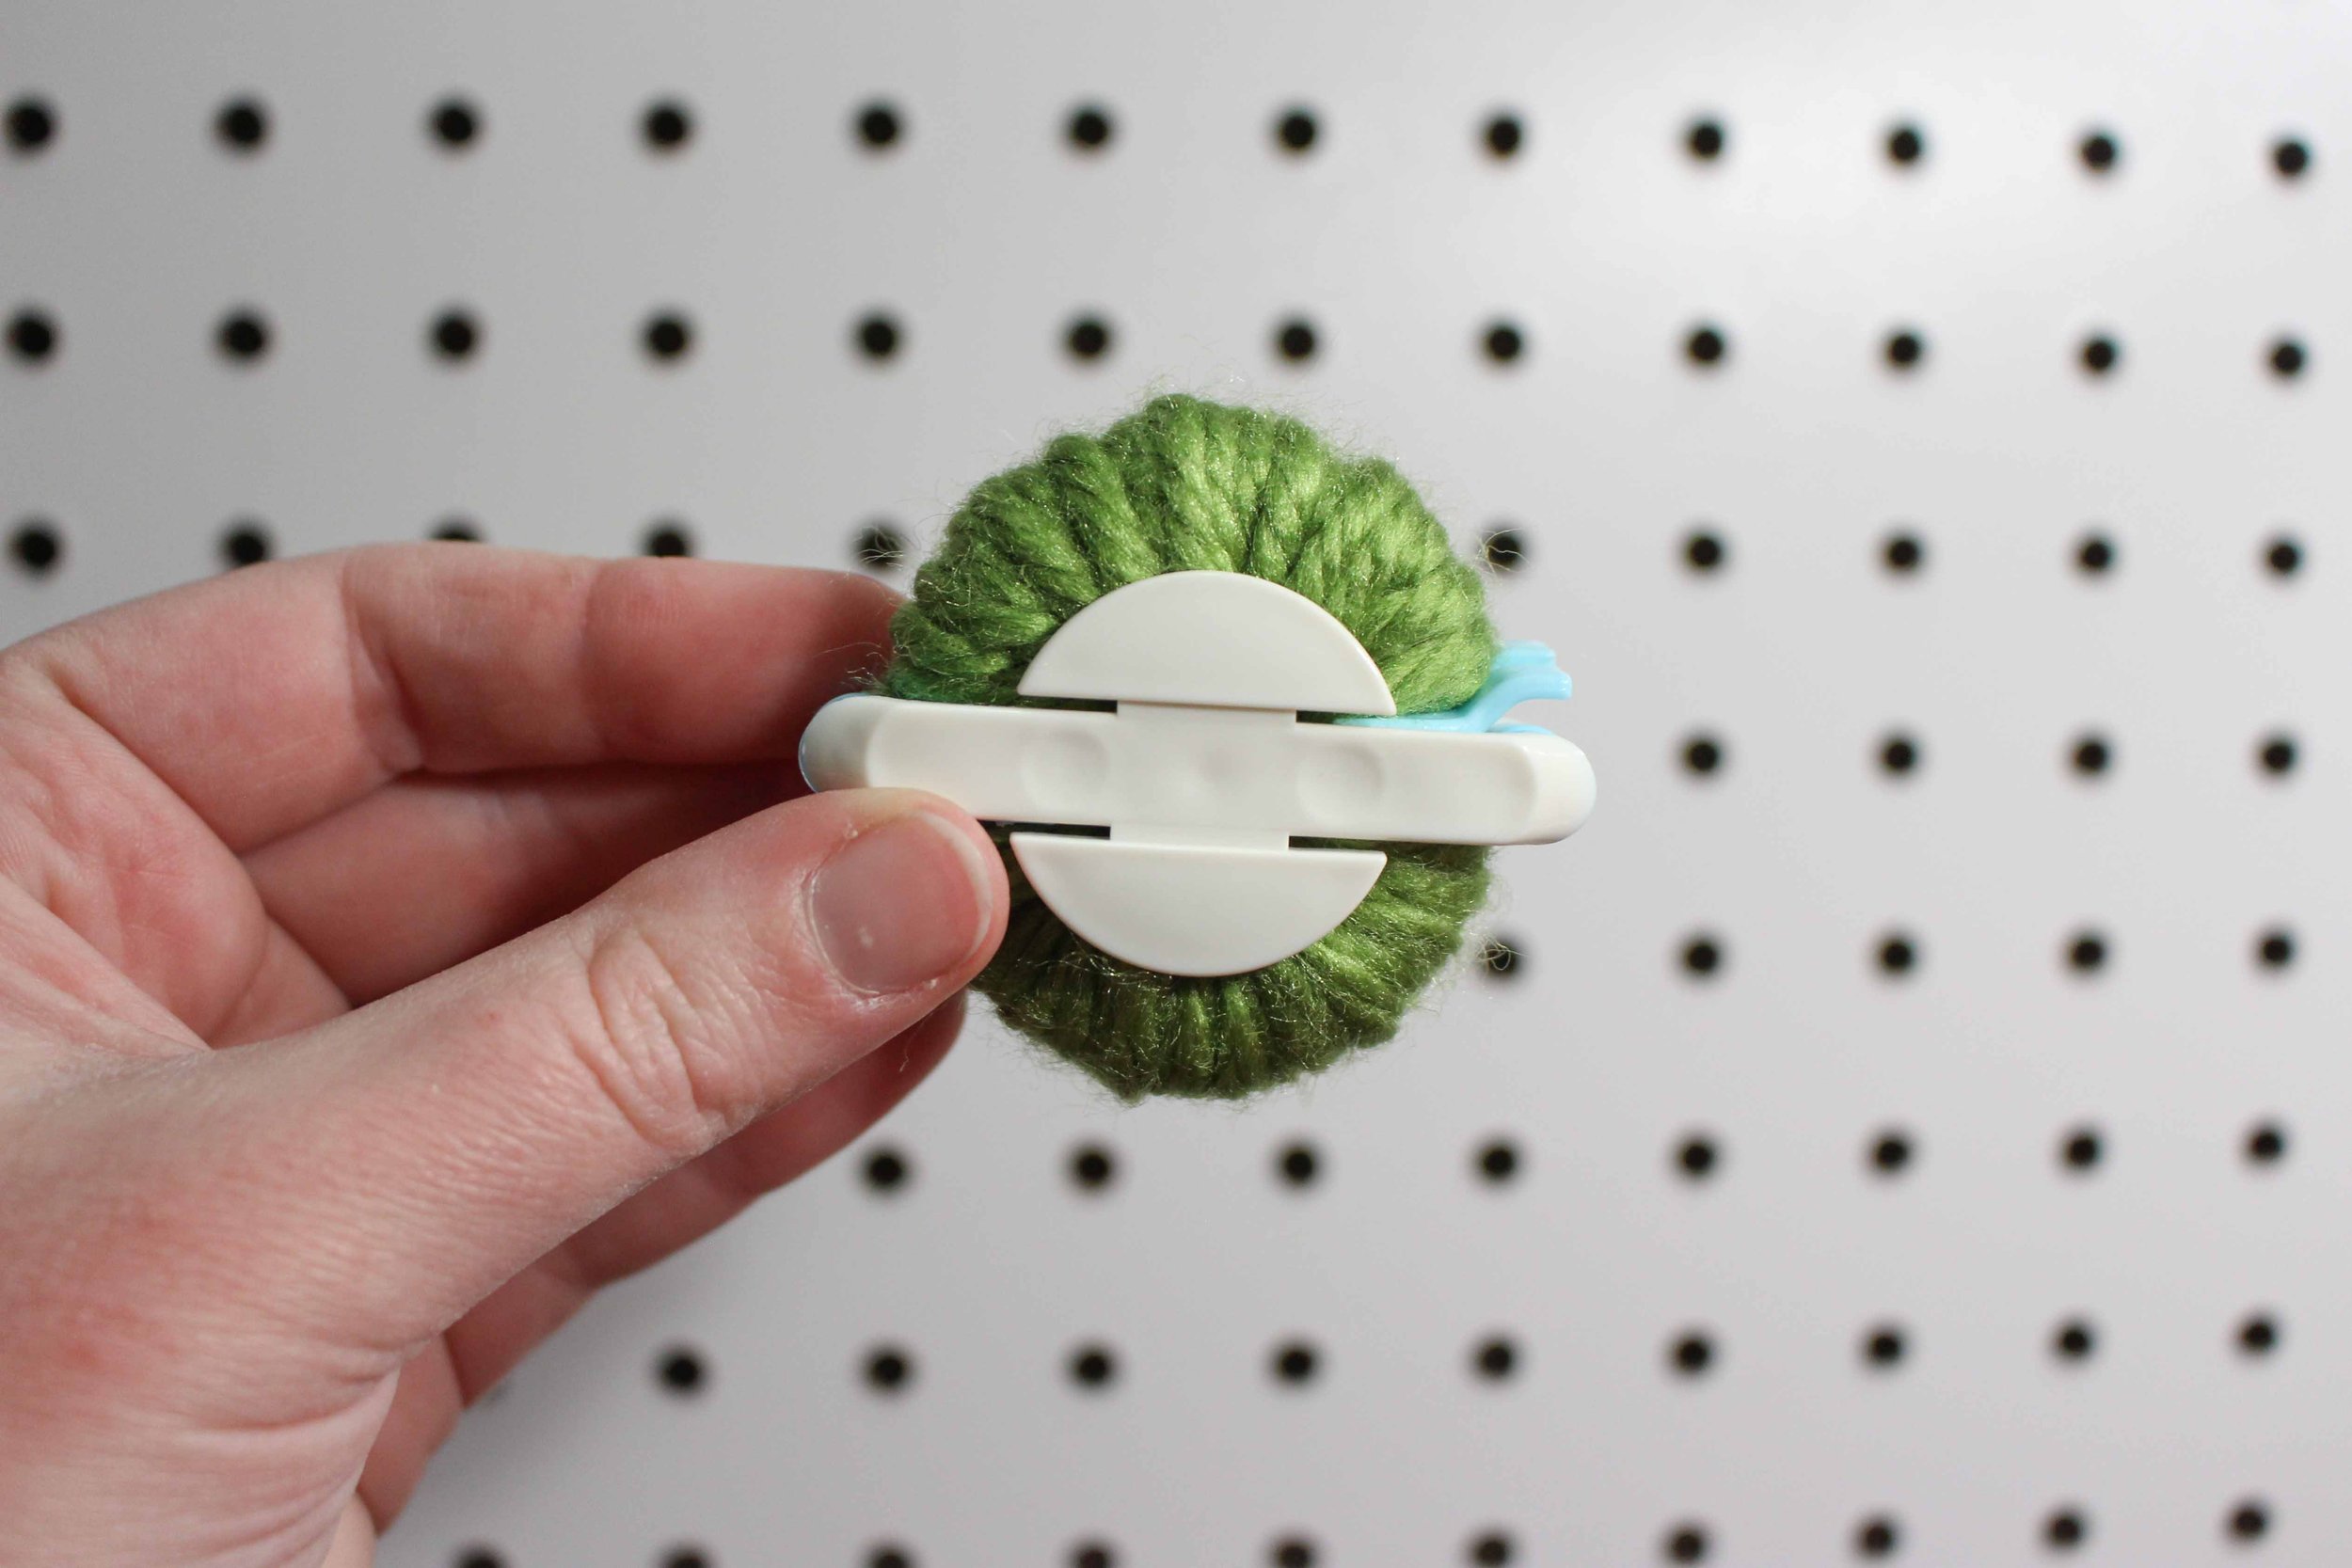
Then, slide the yarn through the side of the pom-pom maker, and wrap the yarn around the second set of arms on the pom-pom maker.
Close both arms, so that your pom-pom maker is in its natural, resting position. Using your sharp scissors, cut along the center seam of both arms.
Using a piece of scrap yarn, tightly tie a knit through the center of the pom-pom maker. Then, with a piece of thin yarn or butcher twine, tie a loop here as well. This will create loop to hang your ornament from your tree.
Open both arms of the pom-pom maker, and then pull apart both halves of the pom-pom maker.
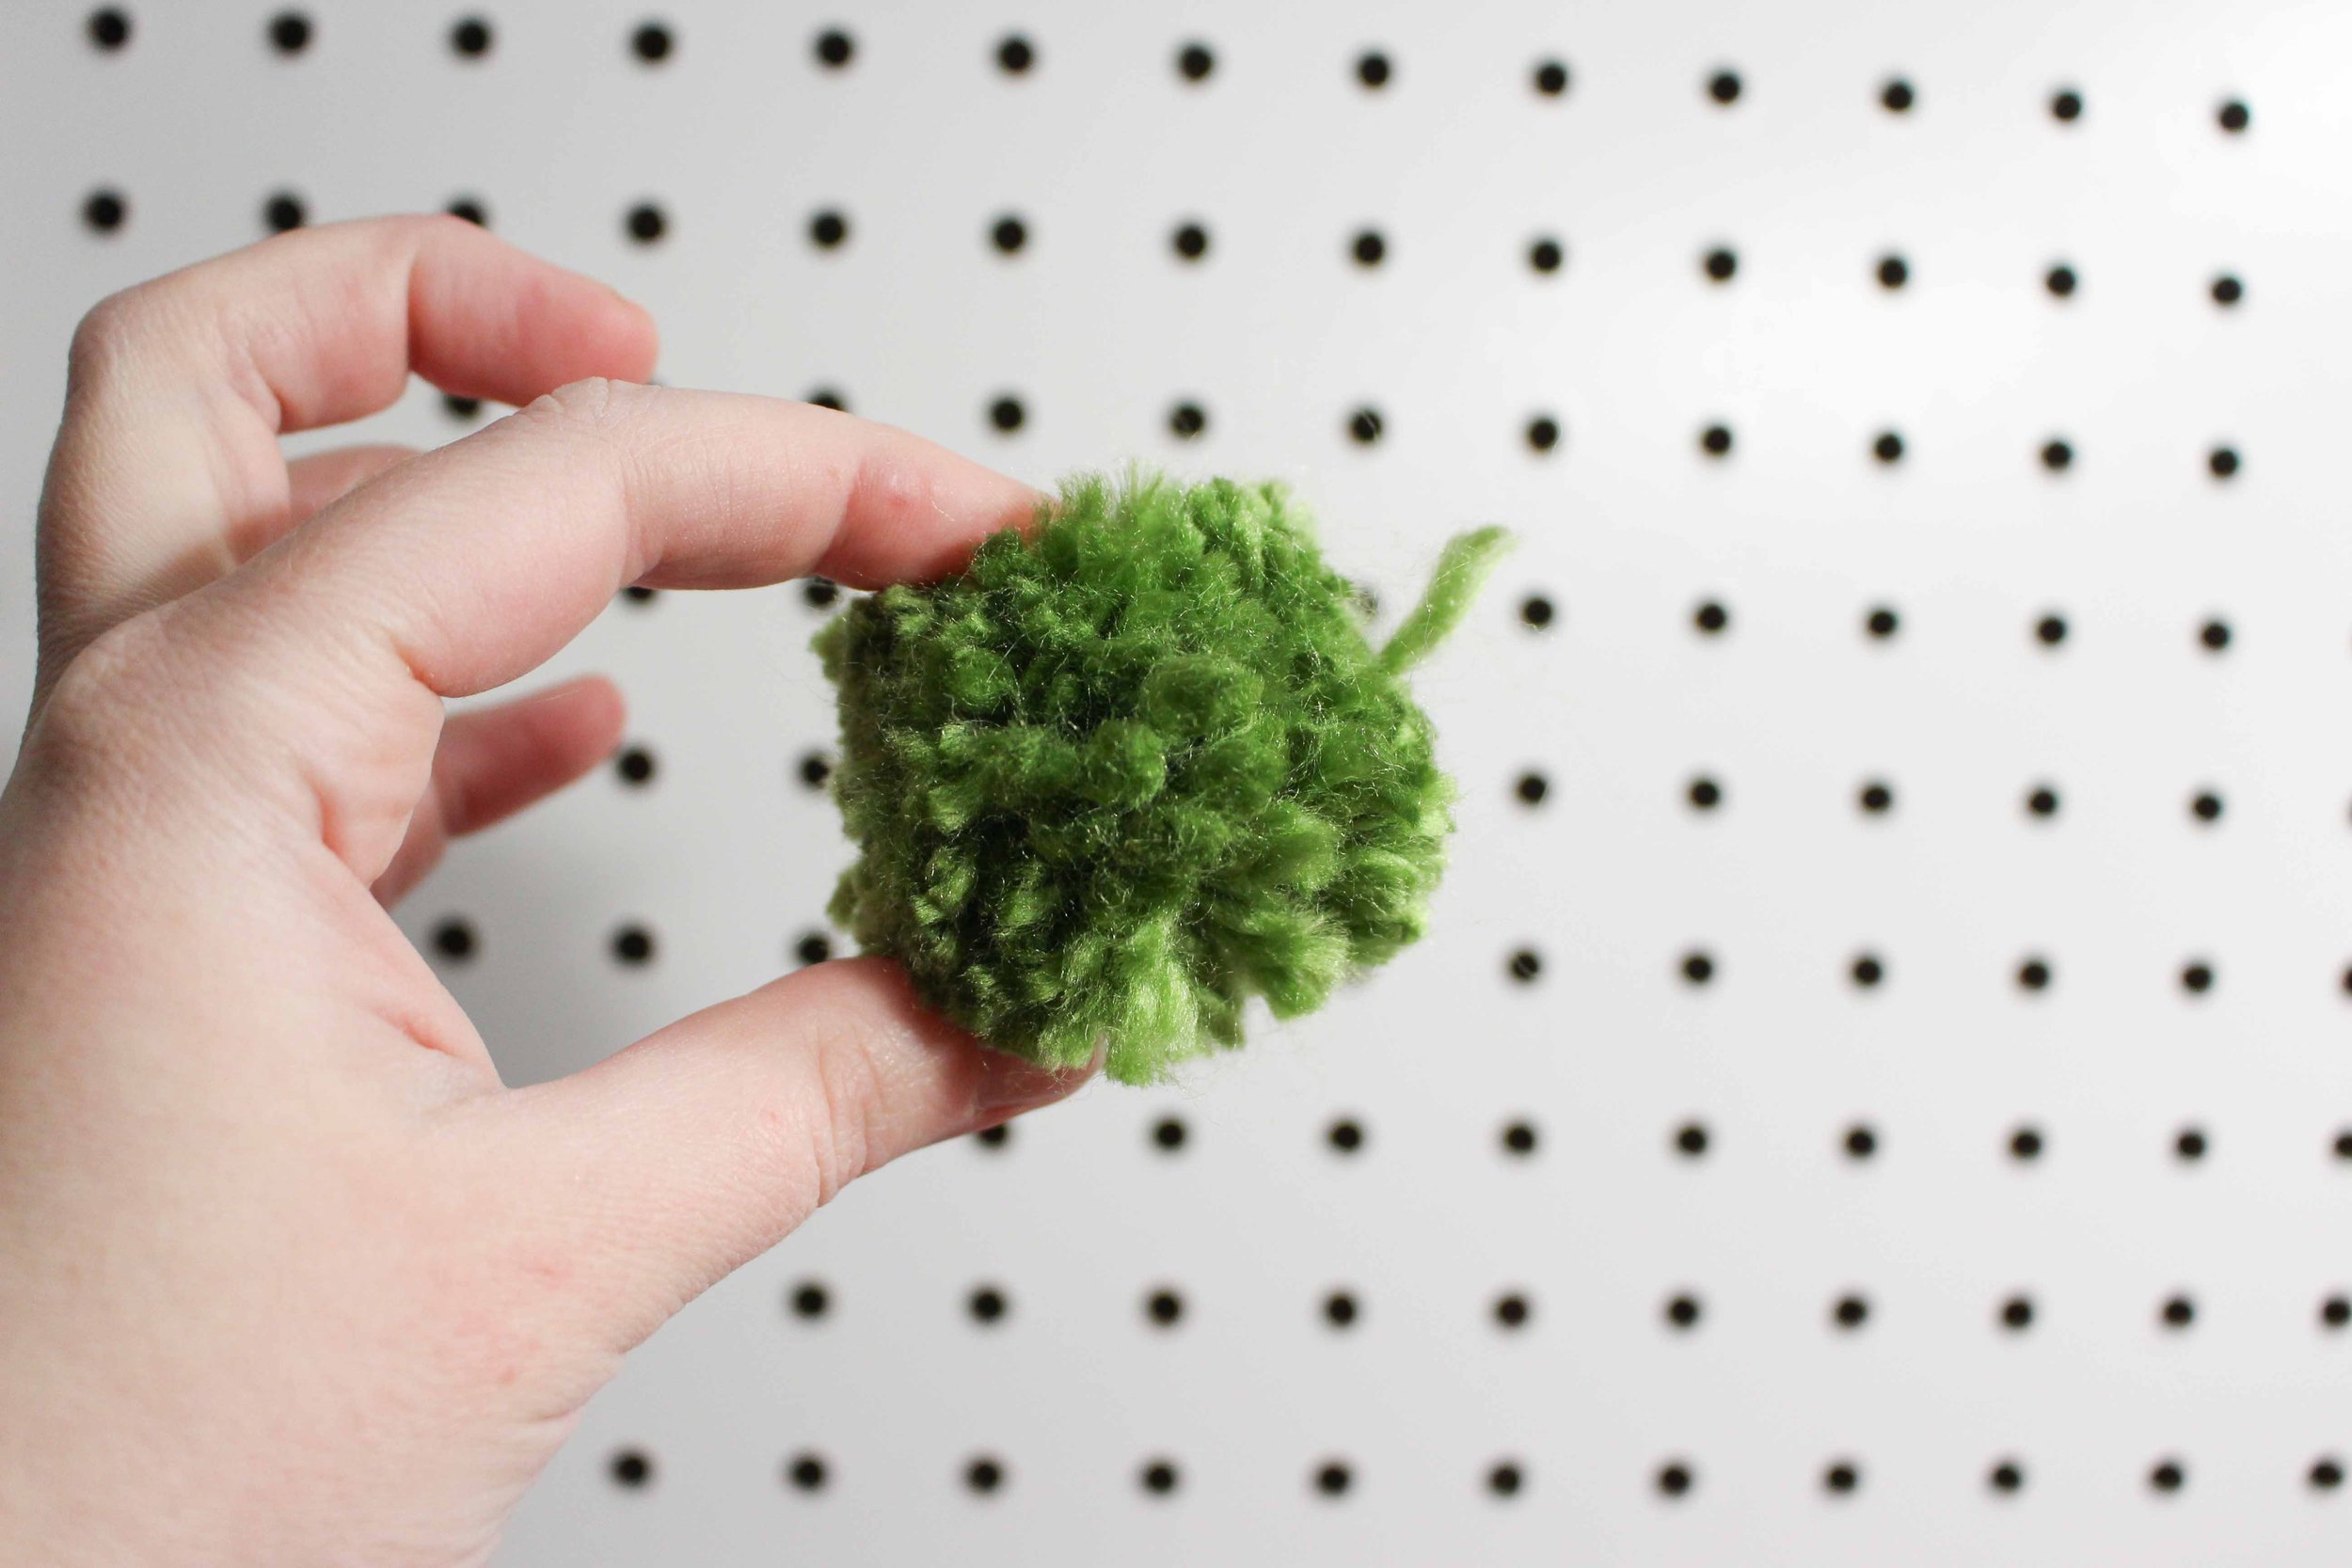
Fluff the yarn on your pom-pom. You might need to trim it up in certain spots to make the pom-pom more symmetrical.
And there you have it! Your very own pom-pom ornament. If you make this project, or want to see other DIY Christmas ornament tutorials, please share in the comments down below. I would love to see your ornaments!


