
Barbie Crop Top Tutorial
When I found this sheet with the sweet little rose print, I instantly knew that I wanted to sew a matching set. When I found out the Barbie Movie was coming out this summer, I just knew that it would be the perfect fabric to make an amazing Barbie Movie outfit.
The Barbie Crop Top is feminine and girly, light and breezy. It is the perfect little summer top, and can be dressed up or down depending on where you’re wearing it.

The Barbie Crop Top is completely customizable according to your measurements. You don’t have to worry about cutting out a pattern, sewing it, and then the finished garment not fitting you (which has happened to me more times than I can count, by the way). We’re going to measure and cut the fabric so that it will perfectly fit you. It’s also such an easy project! Even if you’re a beginner at sewing, this top will only take you a couple of hour-long sewing sessions to complete. If you’re an advanced sewist, you’ll be able to wear your top before the afternoon is over.
The Barbie Crop Top is made of six pieces of fabric; two bodice pieces, two straps, and two ruffles.
Barbie Crop Top Materials
1/2 yard fabric
matching thread
3”-6” of bias tape
1 yard of 1/4” elastic
scissors
sewing machine
iron
ironing board
ruler
Measuring yourself and prepping the fabric
Before we start sewing the Barbie Crop Top, we’re going to measure our bodies and prepare the fabric. Start by washing and drying your fabric so that it is pre-shrunk.
Next, let’s measure our bodies and determine how much fabric we need to cut.
Measuring the bodice:
For the bodice of the pattern, measure the top of your bust, basically where your armpits are. Add 10” to this number, and then divide it in half. This will be the width for your front panel and back panel.
For the length of the bodice, measure from your armpit to your belly button, and add 4” for seam allowance. If you want a longer top, add more length here. I made my Barbie Crop Top quite short, but the best part about a pattern like this is you can make it any length and size.
Measuring the straps:
We’re going to make the straps extra long, and then cut off any extra length we have before we sew the straps onto the top. For each strap, measure a long rectangle that is 3” wide by 22” long. This will make the straps 2” wide each. If you want a wider or thinner strap, then you can add or subtract from the strap width now.
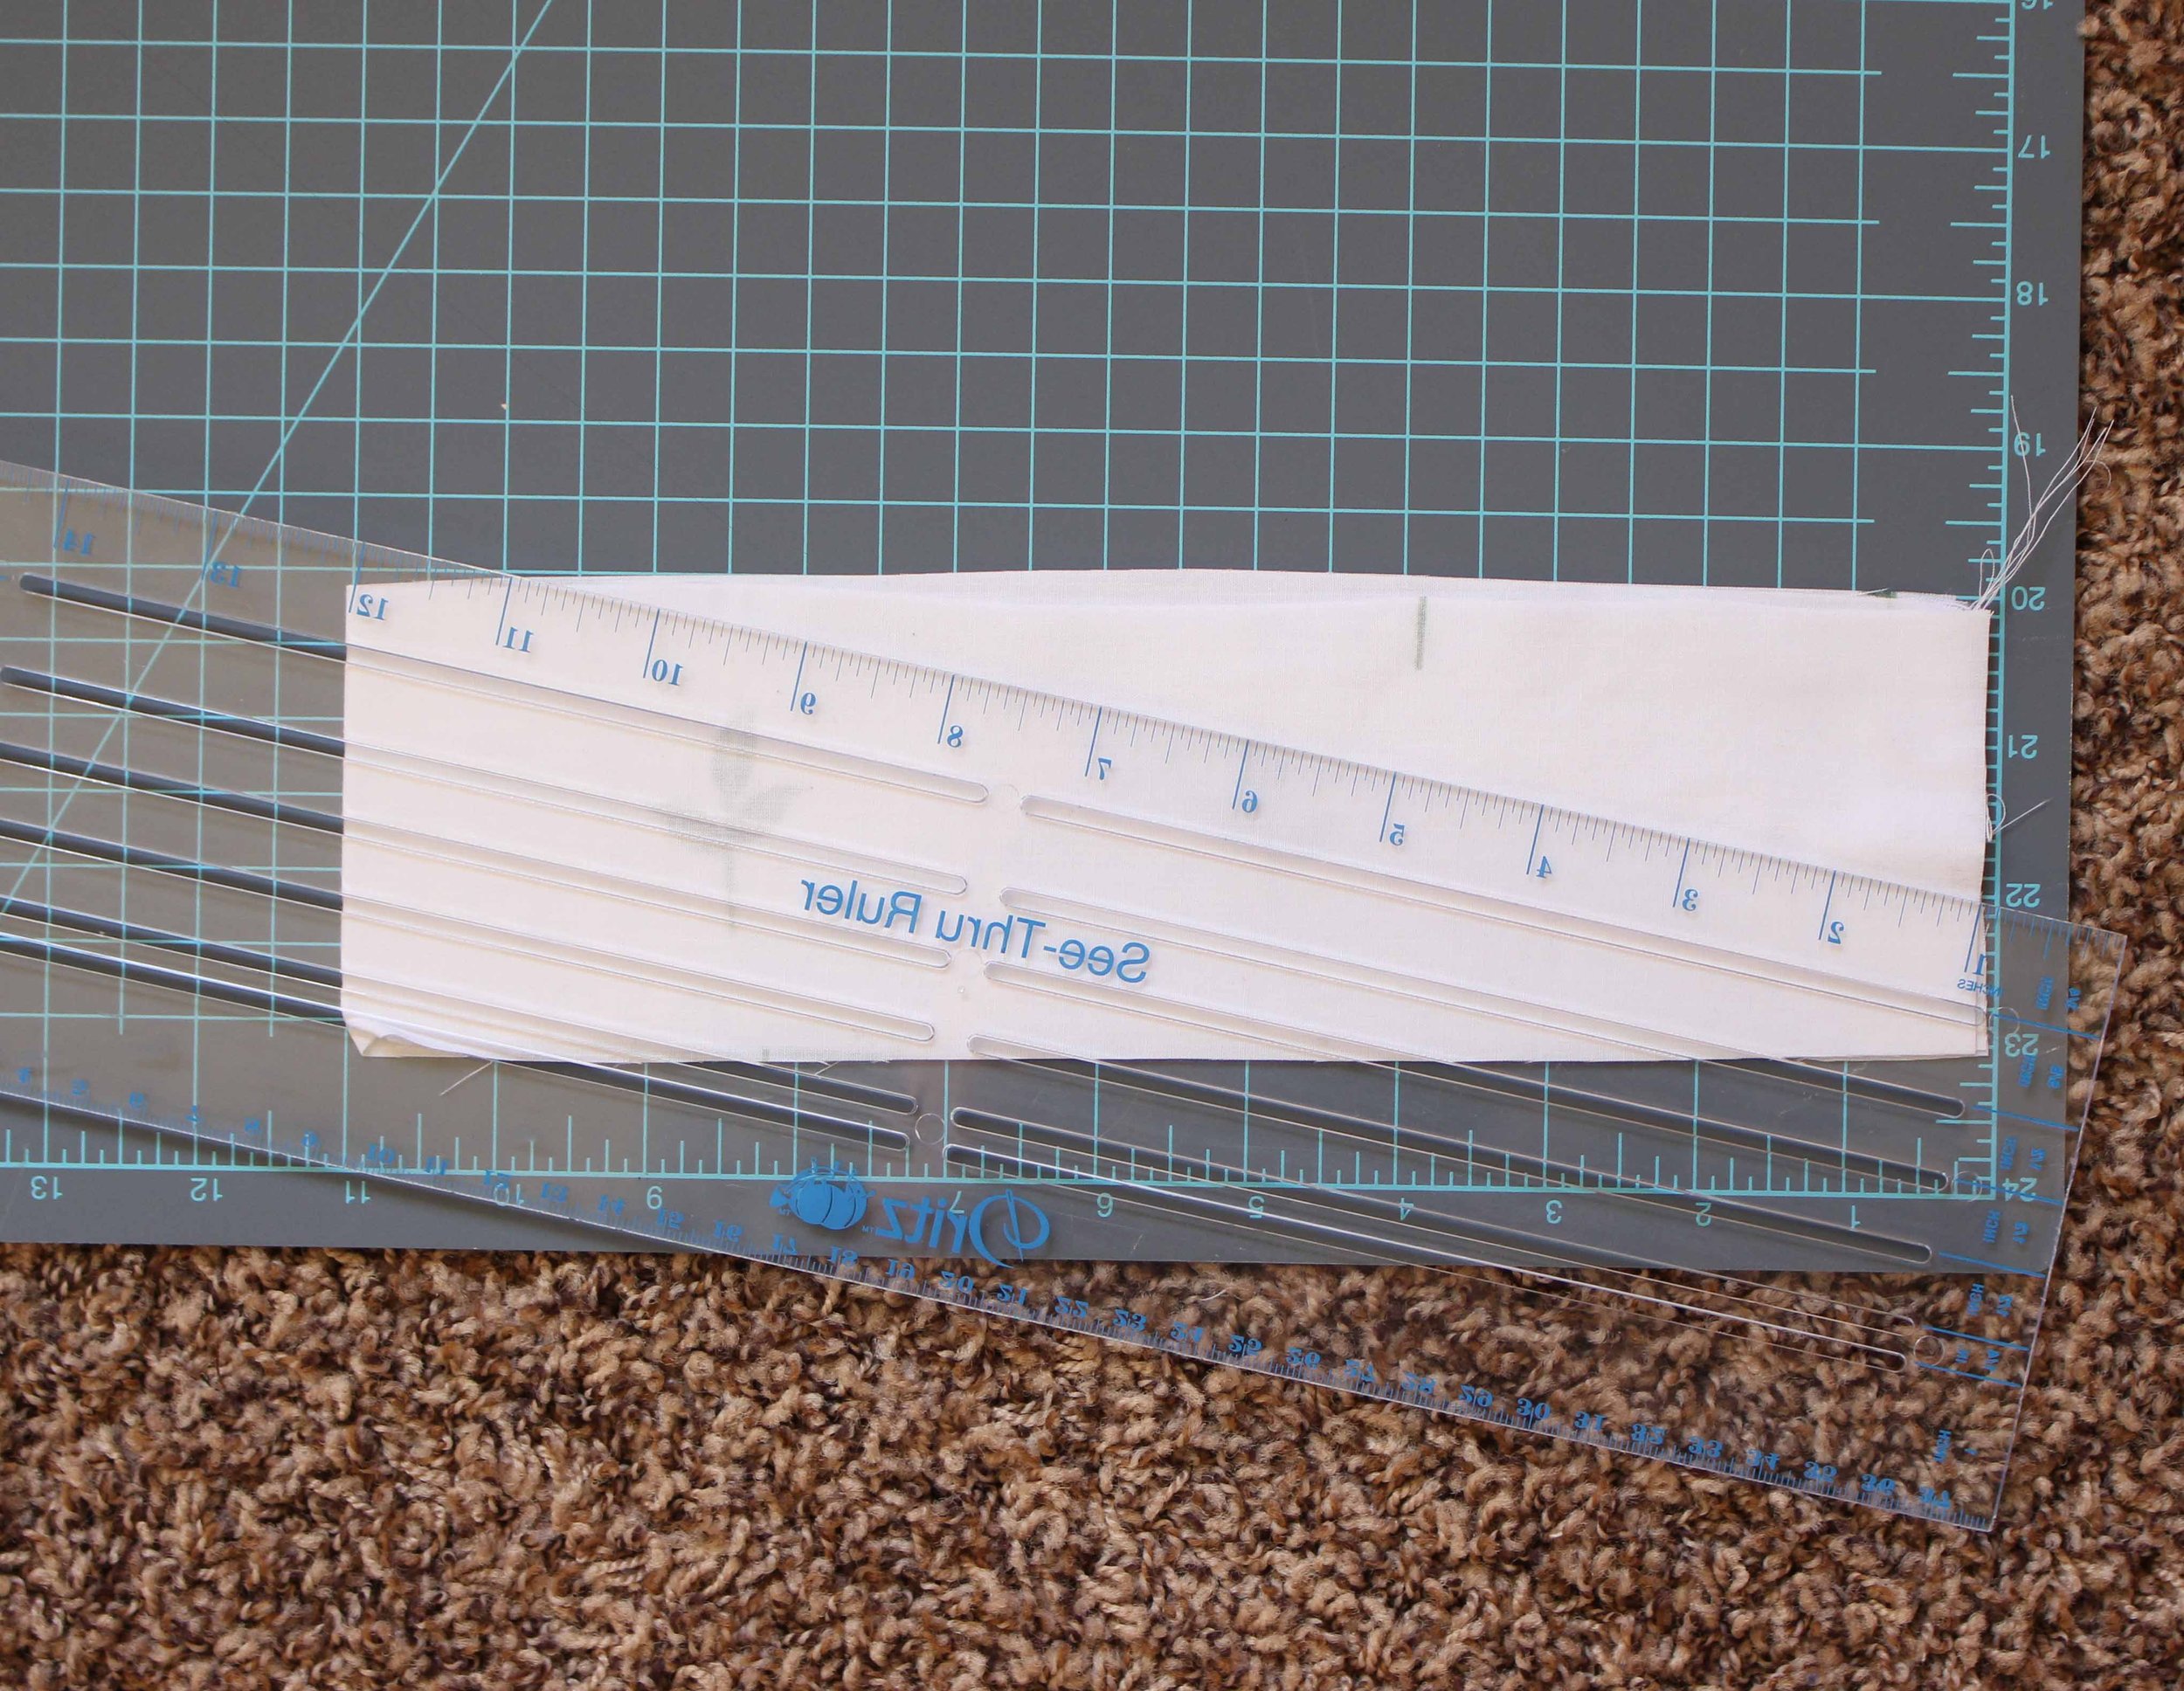
For the ruffle, cut two more rectangles that are 3” by 22” wide. Fold the rectangle in half, hamburger style. We’re going to grade from the edge of the rectangle to the center, so that we can create the curve. The width at the edge of the ruffle should be 1”, and the width at the center should be 3”.
Repeat this step for the second ruffle.
Step One: Cut the fabric

Cut out the front and back panels, the shoulder straps, and the shoulder ruffles.
Step Two: Sew together the front and back panels

With right sides together (the pretty side of the fabric), sew together the front and back panels along both side seams. Finish both seams, using either a zigzag stitch on your sewing machine, a serger/overlock sewing machine, or pinking shears.

Step Three: Create a casing for the elastic

On the top of your bodice, fold the fabric 1/2” from the top and press. Do this once more, creating a tunnel for the elastic to live.
Repeat this step for the bottom of the bodice, pinning as you press to keep the casing in place.
Don’t sew yet! We’re going to rouche the center front of the bodice before we sew the elastic casing.
Step Four: Rouche the front bodice

Cut a strip of bias tape, equal to the length of your bodice, -2”. Find the center front of your bodice, and pin the bias tape along the center front. Sew along both sides of the bias tape, leaving the top and bottom open. This will create a tunnel for the center elastic to live.
The top and bottom of the bias tape should lay flush with the fold at the top of the bodice, but under the casing you created for the top and bottom elastic.

Cut a piece of elastic, 3” in length*. Using a safety pin or bodkin, insert the elastic through the center casing. Pin and sew at the top and bottom of the casing to secure the elastic.
*cut a longer piece of elastic if you are making a longer bodice. Remember, the length of elastic will be the length of the bodice at the smallest part of the top. If you want a less revealing top, you can make your elastic longer.
Step Five: Sew the top and bottom casing and add elastic
Sew the top and bottom elastic casing, leaving a 1” gap on both so that you can insert the elastic.

Measure two pieces of elastic, the top of your bust -5”. Before you cut, stretch it around your body to make sure it’s a comfortable fit. You want the elastic to sit snug against your body, but you don’t want it to be too tight.
Using either a safety pin or bodkin, insert the elastic into the top casing of your bodice. Sew together the ends of the elastic using a zig-zag stitch. Stitch the 1” opening closed.

Repeat for the bottom casing.
Step Six: Sew the ruffle
On the curved edge of the ruffle, press under 1/4” and then again 1/4”, so that the raw edge isn’t visible. If you have a narrow hem foot for your sewing machine, it’s super helpful here. If not, just go slow and pin your edge and you will be fine. Sew this edge.

Next, we’re going to gather the ruffle. Before we do this, mark the center of the straight edge of the ruffle.
To gather, adjust your sewing machine to the longest possible stitch and the highest possible tension, leaving a long tail of threads on either end. Sew 1/4 inch from the straight edge of the ruffle.
Then, pull one long tail of the stitch, and the fabric will start to bunch.
You want the ruffle to be 15” long, so try and gather the ruffle to 7.5” on either side of the center. You want the gathers to be distributed evenly across the entire ruffle.
Step Seven: Sew the strap
Now, we’re going to sew together the strap, with the ruffle inside of it.

With right sides together, fold tother the two straps along the long edge of the strap and press.
Mark the center of the strap. Before you sew the two long edges together, lay the ruffle inside of the fabric sandwich you’ve created, with the raw edges together. Match together the center of the ruffle to the center of the strap.
Pin the long edge of the strap together, making sure that you are also pinning the ruffle that is in the center of the fabric sandwich. Sew along the long edge.
Using either a safety pin, bodkin, or loop turner, turn the strap so that it is right side out. Press it flat. You should have a perfect strap with a ruffle!
Step Eight: Attach the straps
Try on the bodice to make sure it fits!
We intentionally made the straps a little long, so that we can fit them perfectly to your body. Make sure the center of the strap lays on top of your shoulder, and pin the front and back of the straps so that they sit tightly on your shoulders. Don’t make them too tight, but you also don’t want the straps falling off. My straps ended up being 16” in length.

Before you sew the straps onto the bodice, make sure the two strap fronts and two strap backs are symmetrical. I placed the front straps 5” from the side seam, and the back straps 6” from the center seam.
Sew the straps along the very top of the bodice, making sure to not capture the elastic in your stitch. Back-tack your seam a few times to make it very secure.
Barbie Crop Top Finishing Touches
Clip any stray threads and give all of your seams one final press, and you’re done! If you sewed this top, let me know how it turned out in the comments!

More sewing tutorials
looking for more easy sewing tutorials? Check out: