
Making my wedding dress: the sample dress (and the cup size fiasco)
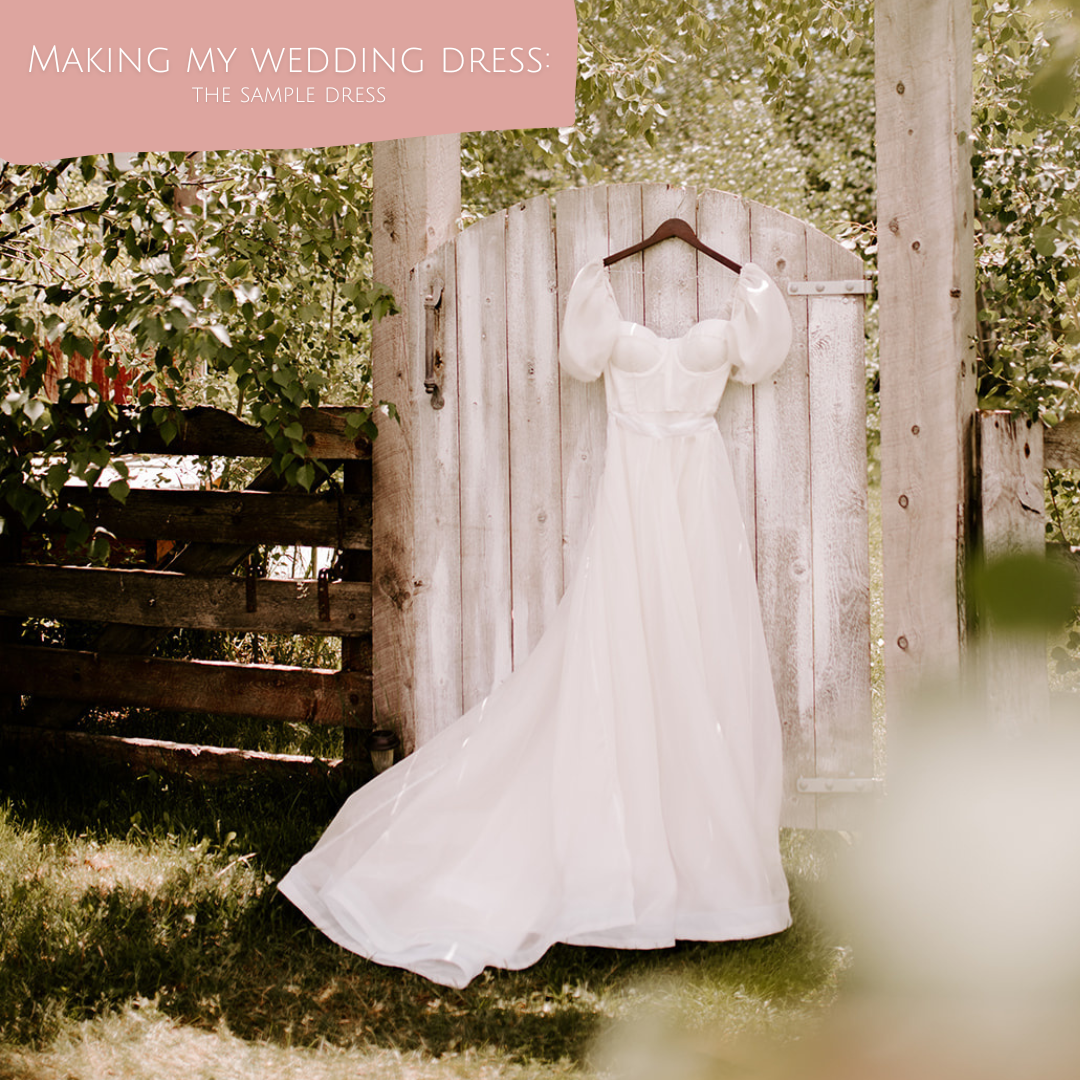
Welcome back to my wedding dress series, where I walk you through every single step I took to make my own wedding dress, and how you can re-create it yourself. In the last post, we talked about buying all the materials you will need to make the test dress and the final dress. In this post, we’re going to make the sample dress together.
Time: 10(ish) hours
Materials: listed here
Why make a test dress?

When you’re sewing, especially if you are using expensive, fancy fabrics, it is so, so important to make a test version before cutting into your fabric. Usually, this test version is made using muslin, a cheap material that is available at all fabric stores.
Sewing the Rose Cafe Bustier
If you want to read about the mistakes I made when sizing, measuring, and adjusting the pattern, skip down to the bottom of this post.

I really recommend following along with this tutorial made by Daria Patternmaking when making your bustier top. Since we’re adding foam cups and rigilene boning for extra support, sewing the bustier will look a little different than it does in the written instructions that accompany the pattern. Daria walks you through every step in the video of how to accommodate the extra steps!

One thing the video does not include, but we need to remember to include here, is adding in the dress straps. Make sure you add the straps in as you are attaching the lining to the bodice.

Attaching the slip skirt to the bustier
From here, I attached the Sati Skirt (see this post for the adjustments I made to the pattern to accommodate fitting the skirt to the bustier), to the Rose Cafe Bustier top, which went smoothly.
I did run into a couple aesthetic issues when making the final dress, and if I had had more time making the dress, I would have addressed them. The first issue was that since the skirt is cut on the bias, it wasn’t happy with having a center seam cut down the back. It did bubble quite a bit in the final dress. *see the bottom of this post for how I think I’ve fixed this issue for future attempts
The second issue was that either the skirt needed to be raised higher on my waist, or the bustier top needed to be shortened a bit. The skirt kind of buckled under the top while I was wearing it. However, neither of these issues were noticeable to me on the wedding day.
Making the detachable skirt
Our next step is to make the detachable skirt. This was the part I was most stressed about, for two reasons.
The first is was it required the most amount of fabric, so if I messed it up, it would be costly. The second was I had never sewn such a long or large skirt before and I wasn’t sure where to begin. Thankfully I found this tutorial on making a ball gown skirt and I was able to follow every step.

I did end up purchasing a dress form to assist me in making the skirt, but you could probably make the skirt without one. If you don’t have a dress form, my recommend is to go to thrift stores until you find a store willing to part with one - I bought mine for only $25! You can also make your own, or buy an adjustable one like this.
Most dress forms come in a standard (small) size, so in order to accommodate for the difference in size, measure around your waist and find the same measurement around the hips of the dress form. It might be a little bit below the waist of the dress form, and that’s ok! We just need to make sure you are making the waist of your dress the correct width. Then, adjust the height of your dress form so that the new waist measurement is the same height as your waist. With that, you are ready to make the sample skirt!
Follow the Youtube tutorial’s instructions, and you should be smooth sailing. For the waistband, create a pattern piece with the following measurements:
The width will be your waist measurement + 2cm, and the length will be 5cm. This will give you enough fabric to create a seam allowance.
I used this guide to create a train on the back panels of the skirt. I didn’t want anything too crazy for the train, so I added 1 foot of fabric to the center back bottom of the skirt.

Making the sleeves
The final step is making the removable puff sleeves. Daria Patternmaking, the same designer who made the Rose Cafe Bustier pattern, has a tutorial on how to add puff sleeves to the bustier. Unfortunately, those sleeves where a bit smaller than what I had in mind. I wanted voluminous, impressive sleeves - they had to be show stoppers. So I pretty much doubled that sleeve, making it 75cm wide and 50cm tall, similar to this tutorial.

I didn’t attach my sleeves to the test dress - I just wanted to make sure they were the right size for my vision of the final dress.
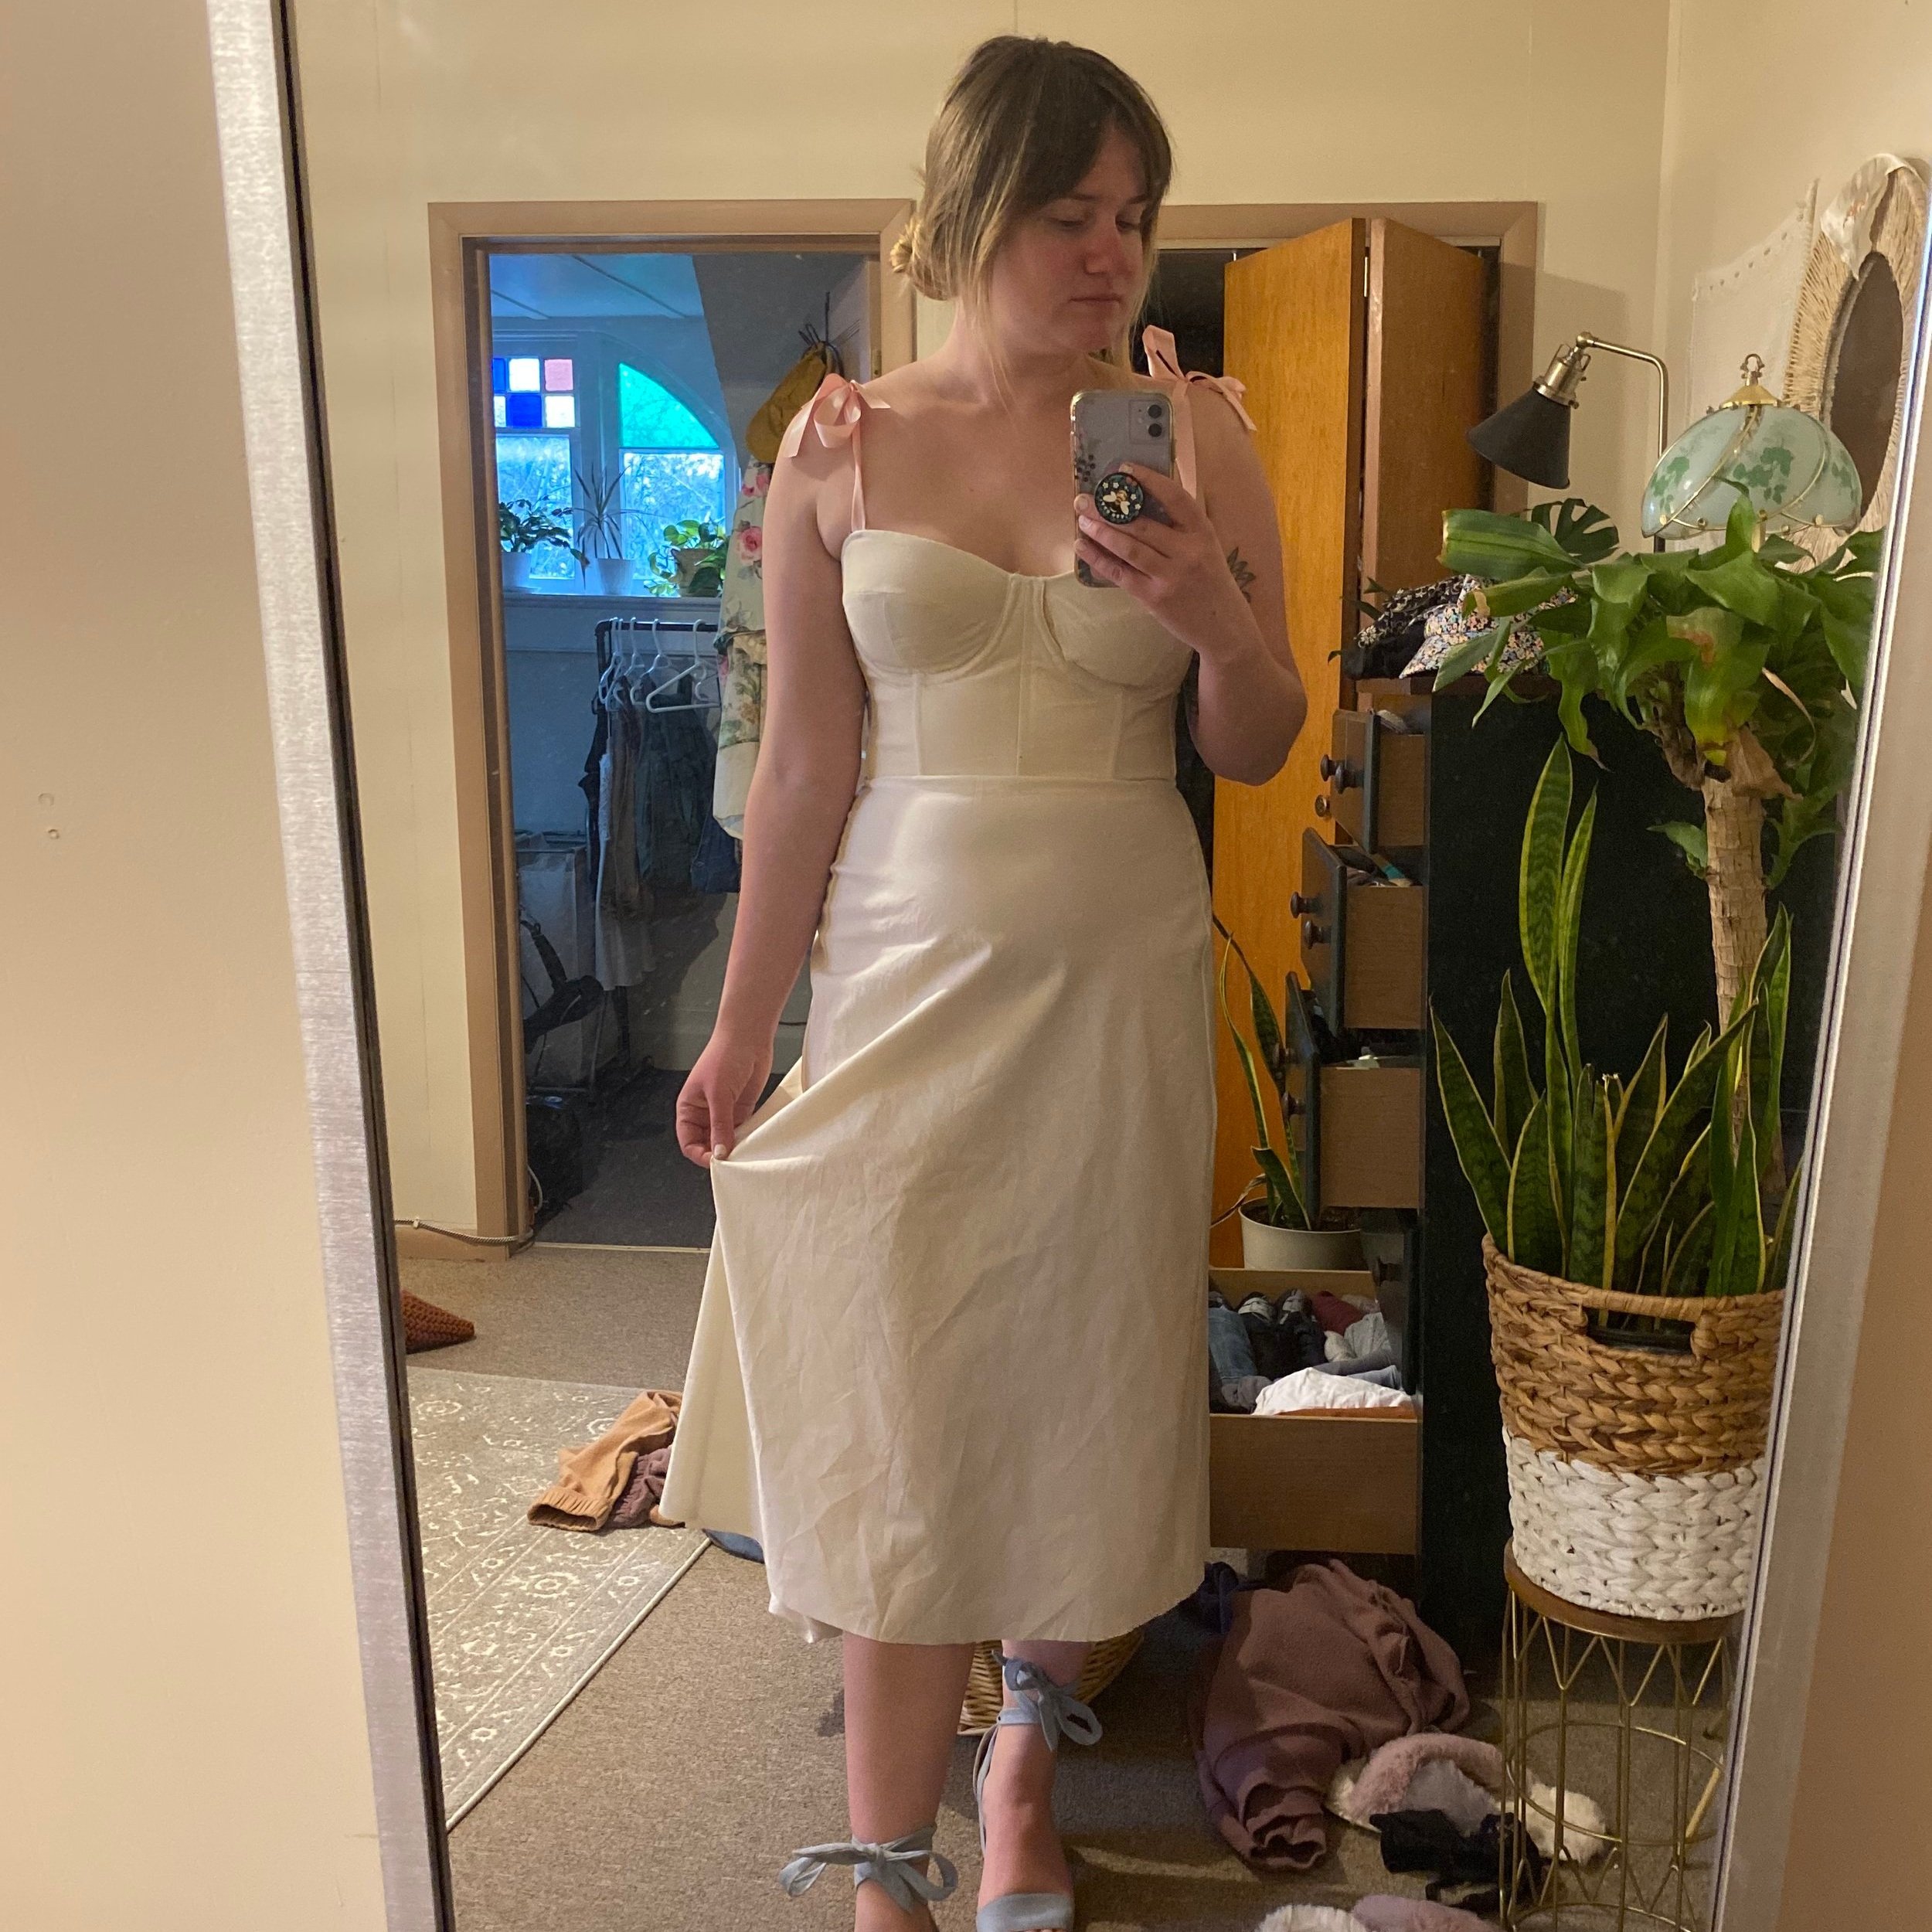
Finishing the test dress
If you’ve made it here, your sample dress is done! Try it on, and if it doesn’t fit, go ahead and try out different sizes in the bustier pattern until it does. Don’t worry, I ended up making five different bustiers until I finally had one that fit.
If you ended up with a sample dress that does fit, congratulations! The hard part is over. Now you know exactly how to make your wedding dress, and all that’s left to do is make it again using our fancy fabrics.
Mistakes were made
If you have been following along with my TikTok series, you know that I had many bumps along the road of making the sample dress. I thought that making a sample version of the dress would be pretty straight forward, but I could not have been more wrong. This happens to me with pretty much every pattern, but for some reason, whenever I translate my measurements to a size on the pattern’s size chart, the size always comes out 2-3 sizes larger than my normal size. And since I don’t sew that often, I always think hmm, maybe it’s just this pattern has a different sizing technique. It definitely makes the most sense to cut based on the pattern’s size recommendations.

Spoiler alert: the clothes I make almost always come out too big. It’s embarrassing. Of course, this test dress was no different. I made the bra cups for the bustier top five sizes too large. Oh lordy. I have a big bust, but it isn’t that big. But of course I thought, well since it’s a European pattern… No. I actually ended up making one size smaller than my normal cup size, because I wanted my chest to really give.
Attempting to adjust the bustier for a low back
One thing I really wanted for my wedding dress was a low back. If you refer back to my inspiration picture, the dress has sexy low back.

But I couldn’t get the low back to function and support my bust. I think if I had more time and materials to work on the test dress, I would have been able to troubleshoot a low back, but by the time I finally came out with a bustier top that fit me, I was down to less than a month before the wedding.
All-in-all, I am so happy with how the dress came out, even with the trials and tribulations I faced along the way.
In the next part, we will finally be starting the test dress!
*I think I resolved this issue when creating the pattern adjustments in this post. When I adjusted my pattern, I did not add extra width along the center back seam. Instead, I added it to the side seams and cut along the back center as normal. I think that since this is a bias cut skirt, the fabric wasn’t amenable to matching up in that way.